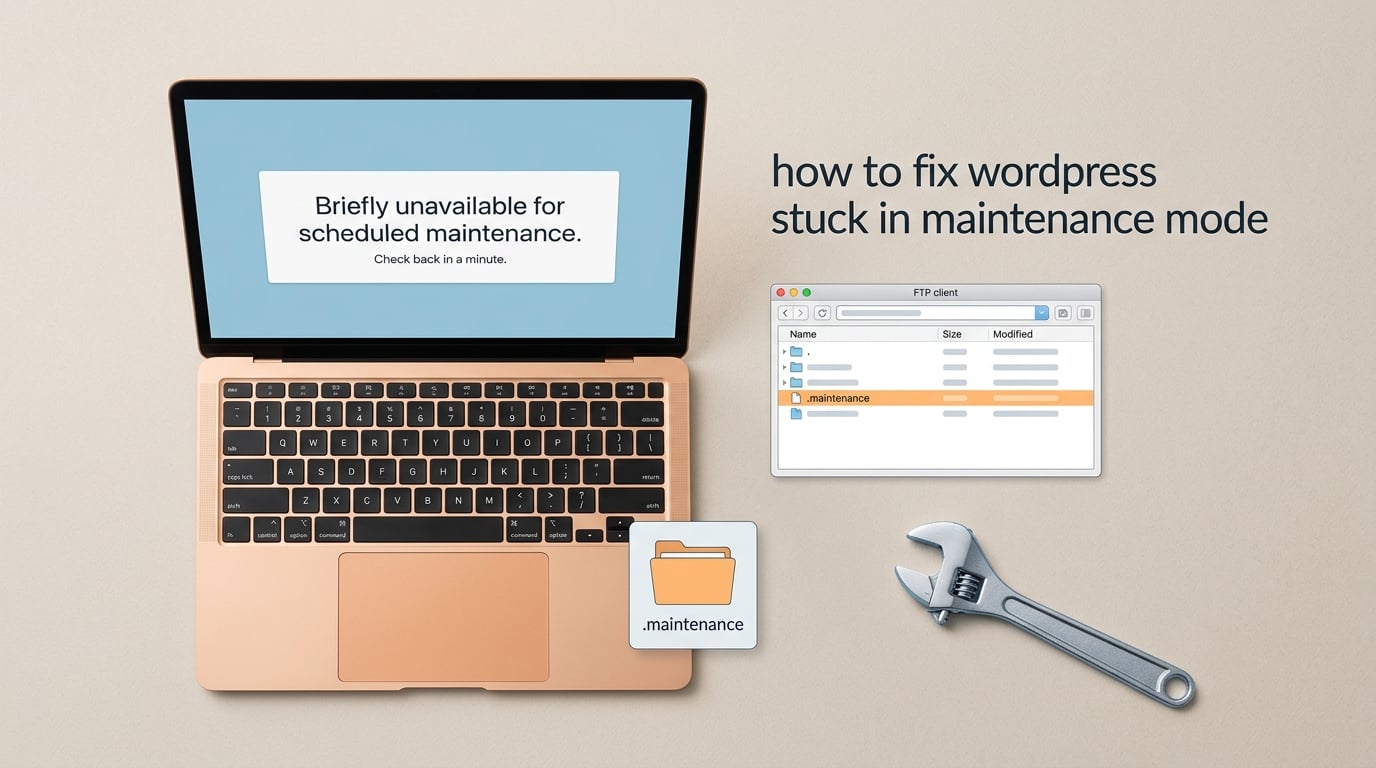
Seeing the “Briefly unavailable for scheduled maintenance. Check back in a minute.” message on your WordPress site for longer than a few minutes? Your site is stuck in maintenance mode, and I’ll walk you through every reliable way to fix it.
I’ve helped recover dozens of sites in this exact situation over the years – from small blogs to busy WooCommerce stores. The good news: the fix usually takes under five minutes, and you don’t need to be a developer to do it.
ContentsTable of Contents›
- What Is WordPress Maintenance Mode?
- Why Does WordPress Get Stuck in Maintenance Mode?
- Backup Before You Fix Anything
- How to Fix WordPress Stuck in Maintenance Mode
- Method 1: Delete the .maintenance File via FTP
- Step 1: Get your FTP credentials
- Step 2: Connect with FileZilla
- Step 3: Show hidden files
- Step 4: Find and delete the file
- Step 5: Refresh your site
- Method 2: Delete the .maintenance File in cPanel File Manager
- Step 1: Log into cPanel
- Step 2: Open File Manager
- Step 3: Enable hidden files
- Step 4: Delete the .maintenance file
- Step 5: Check your site
- Hosting-specific notes
- Method 3: Rename the Plugins Folder (When .maintenance File Is Missing)
- Step 1: Connect via FTP or File Manager
- Step 2: Rename the plugins folder
- Step 3: Refresh your site
- Step 4: Rename the theme folder if plugins weren’t the cause
- Method 4: Disable Maintenance Mode with WP-CLI
- Step 1: Connect via SSH
- Step 2: Navigate to the WordPress root
- Step 3: Run the maintenance-mode command
- Step 4: Verify the fix
- Last Resort: Edit wp-activate.php
- Step 1: Open wp-activate.php
- Step 2: Change the value
- Clear Your Cache After the Fix
- How to Prevent WordPress From Getting Stuck in Maintenance Mode
- Update plugins and themes one at a time
- Use a staging site for major updates
- Always keep a recent backup
- Check plugin and theme compatibility
- Avoid peak traffic hours
- Consider upgrading your hosting
- Frequently Asked Questions
- How do I get WordPress out of maintenance mode?
- What is maintenance mode on WordPress?
- How long does WordPress maintenance take?
- How do I remove a website from maintenance mode?
- Why is WordPress stuck in maintenance mode?
- How do I turn off maintenance mode in WordPress without FTP?
- Will clearing cache fix the WordPress maintenance screen?
- Conclusion
What Is WordPress Maintenance Mode?
WordPress maintenance mode is a temporary state WordPress enters automatically during plugin, theme, or core updates. When triggered, WordPress creates a hidden file called .maintenance in your site’s root directory and shows visitors the “Briefly unavailable for scheduled maintenance. Check back in a minute.” screen.
The maintenance message is intentional – it prevents visitors from seeing a broken site while files are being replaced. Under normal circumstances, WordPress deletes the .maintenance file the moment the update finishes, and your site returns within seconds.
Your site stays stuck only when that file fails to delete. That’s the whole problem, and the fix below targets that single file directly.
Why Does WordPress Get Stuck in Maintenance Mode?
Before jumping into the fix, it helps to know what went wrong. The .maintenance file should be removed automatically when an update completes. When it isn’t, one of these four causes is almost always to blame:
- Server timeout. Your host killed the update process mid-way because it ran too long, often on shared hosting or with large plugins.
- Browser closed too early. You closed the browser tab or navigated away before WordPress finished writing files.
- Bulk updates. Updating many plugins or themes at once increased the chance that one of them timed out or conflicted.
- Plugin or theme conflict. A faulty update crashed the update loop, leaving the file behind.
If your site gets stuck after every single update, the trigger is almost certainly bulk updates on slow shared hosting. I cover how to fix that pattern in the prevention section at the end.
Backup Before You Fix Anything
Take a full backup of your site – files and database – before touching anything. Deleting the .maintenance file is safe and reversible (the file is regenerated on the next update), but backups protect you if anything unexpected happens while you’re connected.
Most hosts offer one-click backups in cPanel. If yours doesn’t, use a plugin like UpdraftPlus or download a copy via FTP. Five minutes of caution here can save hours later.
How to Fix WordPress Stuck in Maintenance Mode
To fix WordPress stuck in maintenance mode, connect to your site via FTP or cPanel File Manager, navigate to the root directory (usually public_html), enable “show hidden files,” and delete the file named .maintenance. Refresh your site and it returns to normal within seconds.
That single file is the cause of every stuck maintenance mode issue. The four methods below show you how to remove it using whichever tools you have available – FTP, cPanel File Manager, WP-CLI, or as a last resort, a code edit. Use the method that matches your comfort level and hosting setup.
Method 1: Delete the .maintenance File via FTP
This is the most popular method and works on any host. You’ll need an FTP client (I recommend the free FileZilla) and your FTP credentials from your hosting provider.
Step 1: Get your FTP credentials
Log into your hosting account and find the FTP section. Most hosts (Bluehost, SiteGround, Hostinger, GoDaddy) put this under “Files” or “FTP Accounts.” You need three values: the hostname (usually your domain), the FTP username, and the FTP password. If you don’t know them, create a new FTP account from your control panel.
Step 2: Connect with FileZilla
Open FileZilla, enter your credentials in the quick connect bar at the top, and click “Quickconnect.” If you see a folder listing on the right side under “Remote site,” you’re connected. If the connection fails, double-check the hostname and password, and confirm your host hasn’t blocked FTP on your IP.
Step 3: Show hidden files
The .maintenance file is a dotfile, so FileZilla hides it by default. Go to Server → Force showing hidden files in the top menu. The .maintenance file will then appear in the remote file list.
Step 4: Find and delete the file
On the right side, navigate to the root folder – usually public_html, www, or htdocs. This is the same folder that contains wp-config.php and the wp-content folder. Right-click the .maintenance file and choose “Delete.” Confirm the deletion.
Step 5: Refresh your site
Open your site in a fresh browser tab. The maintenance message should be gone. If it’s still there, clear your browser cache and any caching plugin – I cover that in detail further down.
Method 2: Delete the .maintenance File in cPanel File Manager
If you don’t have FTP credentials or prefer working through your browser, the cPanel File Manager works just as well. This is the method I recommend for non-technical users because there’s no software to install.
Step 1: Log into cPanel
Open a new browser tab and go to yourdomain.com/cpanel or yourdomain.com:2083. Enter your cPanel username and password. Bluehost, Hostinger, and SiteGround all use this URL pattern.
Step 2: Open File Manager
Find the File Manager icon (usually under the “Files” section) and click it. Choose the public_html directory when prompted – this loads you straight into your WordPress root.
Step 3: Enable hidden files
Click Settings in the top-right corner of File Manager, then check the box for “Show hidden files (dotfiles).” Click Save. The .maintenance file now appears in the file list.
Step 4: Delete the .maintenance file
Locate .maintenance in the file list (it sits next to wp-config.php). Right-click it and choose “Delete.” Confirm the prompt, then close File Manager.
Step 5: Check your site
Open your site in an incognito window to bypass cache. If the maintenance page is gone, you’re done. If it persists, jump to the cache-clearing section below.
Hosting-specific notes
Hostinger users will find File Manager under Files → File Manager in hPanel. GoDaddy users will find it under cPanel → File Manager after logging in through the customer portal. SiteGround users have a custom File Manager in their site tools that behaves almost identically. The same dotfile rule applies everywhere.
Method 3: Rename the Plugins Folder (When .maintenance File Is Missing)
This method handles the case where you can’t find the .maintenance file at all. Several Reddit users have hit this exact problem, and the typical cause is that WordPress deleted the file automatically but a plugin conflict is still holding your site in maintenance state.
Step 1: Connect via FTP or File Manager
Use whichever method you prefer from above to reach your site’s root folder.
Step 2: Rename the plugins folder
Navigate into wp-content and find the plugins folder. Rename it to plugins_disabled. WordPress will deactivate every plugin at once because it can’t find them anymore.
Step 3: Refresh your site
Reload your site. If it loads normally, a plugin was holding the maintenance screen. Rename the folder back to plugins via FTP, then log into wp-admin and reactivate plugins one by one to find the culprit.
Step 4: Rename the theme folder if plugins weren’t the cause
If the site is still stuck, do the same with your theme folder. Rename wp-content/themes/your-theme-name to wp-content/themes/your-theme-name-disabled. WordPress falls back to a default theme, which usually breaks whatever loop is keeping maintenance mode active.
Method 4: Disable Maintenance Mode with WP-CLI
If you have SSH access to your server, WP-CLI gives you a one-command fix. This is the fastest method and the one I use myself when I have shell access.
Step 1: Connect via SSH
Open a terminal and connect to your server: ssh [email protected]. Enter your password when prompted.
Step 2: Navigate to the WordPress root
Run cd ~/public_html (or whichever directory holds your wp-config.php file).
Step 3: Run the maintenance-mode command
Type the following command and press Enter:
wp maintenance-mode deactivate
WP-CLI removes the .maintenance file and reports back instantly. Refresh your site and confirm it’s back online.
Step 4: Verify the fix
Run ls -la | grep maintenance to confirm no .maintenance file remains. If WP-CLI is not installed on your host, ask your hosting provider – most managed WordPress hosts (Kinsta, WP Engine, Pressable) have it pre-installed.
Last Resort: Edit wp-activate.php
If the file is gone but the maintenance screen still appears, something is forcing the maintenance state at the code level. The wp-activate.php file in your WordPress root contains a constant called WP_INSTALLING that, when left as true, locks the entire site in maintenance mode.
Step 1: Open wp-activate.php
Connect via FTP or File Manager and open wp-activate.php in the root folder using the editor. Search for this line:
$upgrading = time() < ( $wp_db_version + 86400 );
Below it, find this constant:
define( 'WP_INSTALLING', true );
Step 2: Change the value
Replace true with false so the line reads:
define( 'WP_INSTALLING', false );
Save the file and refresh your site. The maintenance screen should disappear.
Warning: Only edit this file as a last resort. Revert the change to true as soon as possible after fixing the underlying issue, since this constant affects how WordPress runs upgrades.
Clear Your Cache After the Fix
Users on Reddit often report deleting the .maintenance file but still seeing the maintenance screen. The usual culprit is caching – either your browser, your WordPress caching plugin, or a CDN.
Try these steps in order:
- Hard-refresh your browser. Press Ctrl+Shift+R (Windows) or Cmd+Shift+R (Mac) to bypass browser cache.
- Clear your caching plugin. If you use WP Rocket, W3 Total Cache, LiteSpeed Cache, or similar, hit the “Purge All” button.
- Purge your CDN. Cloudflare, Sucuri, and StackPath users should purge the cache from their CDN dashboard.
- Clear server-side cache. Managed hosts like Kinsta, WP Engine, and SiteGround have their own caching layers – clear them from your hosting dashboard.
After all four steps, your site should be fully restored. If you still see the maintenance screen, wait 5-10 minutes – some CDNs take a moment to propagate the cleared state.
How to Prevent WordPress From Getting Stuck in Maintenance Mode
Once your site is back, a few habits will keep it from happening again. I apply all of these on every site I manage.
Update plugins and themes one at a time
The single biggest trigger for stuck maintenance mode is updating multiple plugins at once. Update one, confirm the site still loads, then move to the next. If you’re on shared hosting with strict timeout limits, this is non-negotiable.
Use a staging site for major updates
Reputable managed WordPress hosts (Kinsta, WP Engine, SiteGround, Cloudways) include one-click staging. Test your plugin and core updates on the staging copy first, then push the working version to production.
Always keep a recent backup
Set up automatic daily backups with a plugin like UpdraftPlus or through your host. If something does go wrong during an update, you can restore in minutes instead of troubleshooting.
Check plugin and theme compatibility
Before updating, glance at the plugin’s “Tested with WordPress” tag in the repository. If your WordPress version is higher than what the plugin was tested with, wait a week or so for the developer to push a compatible update.
Avoid peak traffic hours
Schedule updates for low-traffic windows – early mornings or late nights for your audience’s timezone. If the update does get stuck, fewer visitors see the maintenance screen.
Consider upgrading your hosting
If your site repeatedly falls into maintenance mode on a cheap shared plan, the timeout limits are likely too tight. Managed WordPress hosting or a VPS gives longer execution times and prevents the timeout-triggered stuck state.
Frequently Asked Questions
How do I get WordPress out of maintenance mode?
Connect to your site via FTP or cPanel File Manager, navigate to the root directory (usually public_html), enable show hidden files, and delete the file named .maintenance. Refresh your site in a new browser tab and the maintenance screen disappears within seconds. This single file is the cause of every stuck maintenance mode issue.
What is maintenance mode on WordPress?
WordPress maintenance mode is a temporary state WordPress enters automatically during plugin, theme, or core updates. It creates a hidden .maintenance file in your site’s root folder that displays the Briefly unavailable for scheduled maintenance message to visitors. WordPress deletes the file when the update finishes – if the file remains, your site is stuck.
How long does WordPress maintenance take?
A normal WordPress update completes in under a minute. The maintenance screen typically disappears within 5-30 seconds. If it lasts longer than a few minutes, the update likely timed out or was interrupted, and the .maintenance file failed to delete. That’s when you need to remove the file manually using the methods in this guide.
How do I remove a website from maintenance mode?
To remove a website from maintenance mode, delete the .maintenance file from your WordPress root directory. You can do this through FTP (FileZilla), cPanel File Manager, or via SSH using the command wp maintenance-mode deactivate. After deleting, refresh your site and clear any caching plugins or CDN to see the change immediately.
Why is WordPress stuck in maintenance mode?
WordPress gets stuck in maintenance mode when the .maintenance file fails to delete after an update. The most common causes are server timeouts (especially on shared hosting), interrupted updates (browser closed early), bulk plugin or theme updates, and plugin conflicts. The fix is always to delete the file manually since WordPress could not remove it on its own.
How do I turn off maintenance mode in WordPress without FTP?
You can turn off maintenance mode without FTP by using your hosting control panel’s File Manager. Log into cPanel, open File Manager, navigate to the public_html directory, enable show hidden files, and delete the .maintenance file. Most hosts including Bluehost, Hostinger, SiteGround, and GoDaddy include this tool by default.
Will clearing cache fix the WordPress maintenance screen?
Clearing cache alone will not remove the maintenance screen if the .maintenance file is still present – you must delete that file first. However, after deleting it, you should clear your browser cache (hard refresh), your WordPress caching plugin, and any CDN cache to make sure the site loads correctly instead of serving a cached maintenance page.
Conclusion
WordPress stuck in maintenance mode looks scary, but the fix is almost always simple: a single hidden file in your root directory failed to delete. Connect via FTP, cPanel File Manager, or WP-CLI, remove the .maintenance file, clear your cache, and your site comes back online within minutes.
Going forward, update plugins one at a time, use a staging site for major changes, and keep regular backups. Those three habits alone prevent the vast majority of maintenance mode lockouts I’ve seen across hundreds of WordPress sites in 2026.
If you’re still stuck after trying every method above, restore from your most recent backup and contact your hosting provider’s support – they can remove the .maintenance file directly from the server if you can’t.